Explore Mendocino with this awesome Photowalk Itinerary
July 17, 2022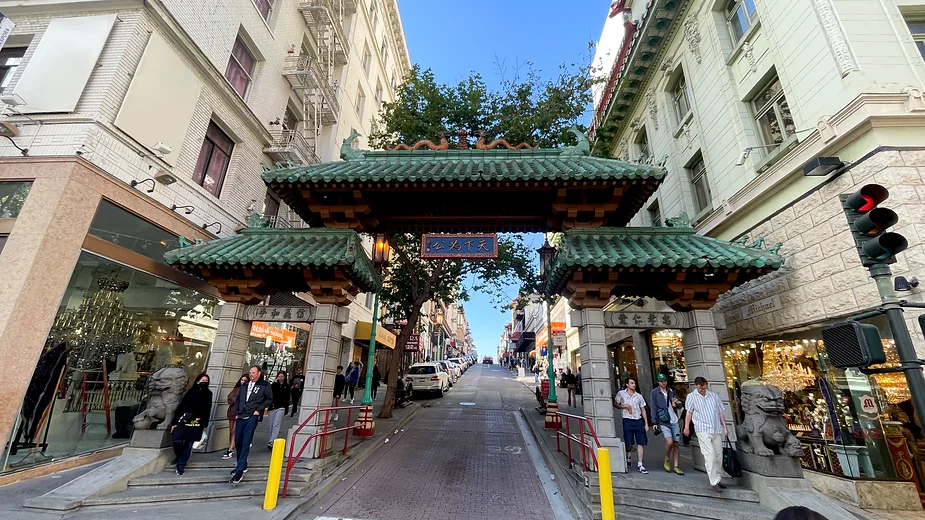
Let’s explore the OLDEST Chinatown in U.S.
July 23, 2022I recently returned from tiny Mendocino, California, a coastal town up the road from San Francisco, producing an episode of my PhotowalksTV travel series, and my inbox has been overflooded with questions about the process.
Do I really produce a travel photography series with just mobile cameras? (Mostly.) And how do I go about it? Thanks for asking. Let me tell you about it.

First know that I don’t arrive with bags and bags of gear, like I used to just a few years ago.
I produce a show about travel and mobile photography, using the gear most people have in their pockets, a smartphone, and I like to show what’s possible. The quality on current gear is amazing—almost, but not as great as thousand dollar + cameras, but they do the job. Plus, my production days start early, and I’m roaming all over the place. It works a lot better to have everything on me, or in a backpack that’s not excessively heavy. The lighter, the better.
I do mostly solo Vlog productions, have the camera on a tripod when I address it, and if it’s a big one, that can be a thief magnet. Mobile cameras are less visible.

In Mendocino, as in other locations I visit, I arrived with 2 iPhones (12 Pro Max and 13 Pro Max) 2 GoPros (Hero 9 and Hero 10), 1 drone (DJI Mavic 2S) and my trusty Rode Wireless Go II lav microphones for audio. I also had a big Sony mirrorless A7IV and 16-35mm lens, but didn’t walk around with it every day. This is one beautiful, amazing camera and lens combo and sharper than the mobile ones. As you will see lower down, I have a specific use case for it.
That’s it.
Well, plus 3 tripods (I have a collection that live in the car.) I primarily use the cheapie, but ultra-compact MeFoto, which is ultra-light. It ain’t sturdy, but it does the job.
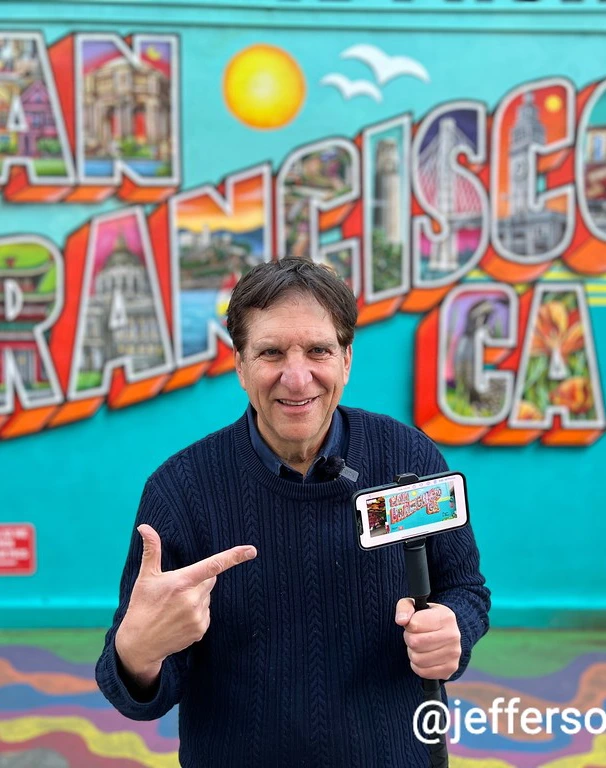
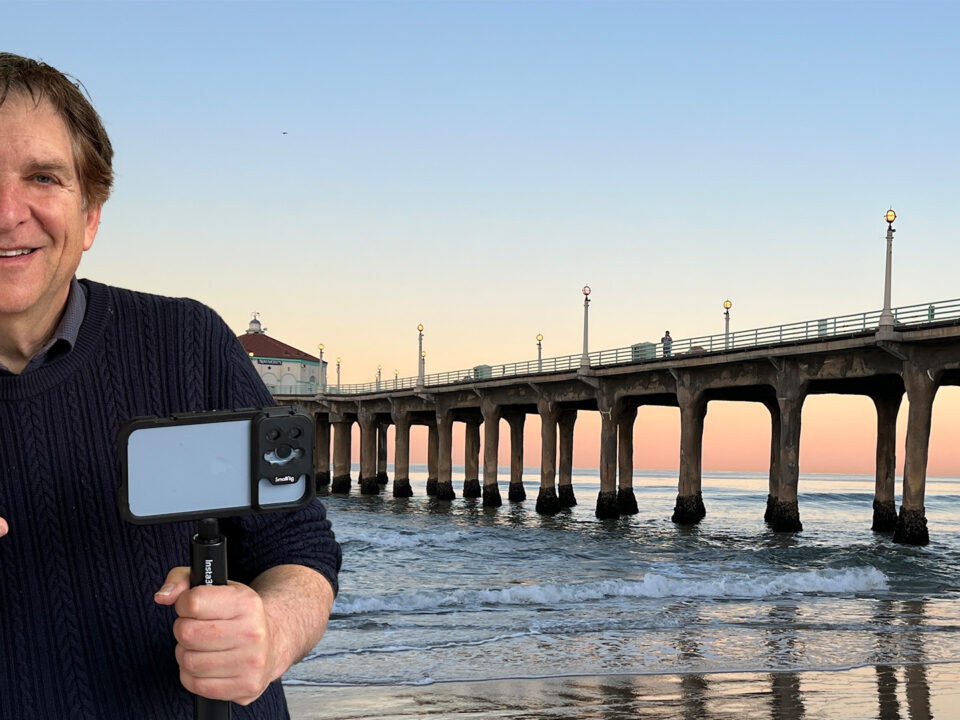
Ninety percent of the time, I walk around with the iPhone attached to the $25 tripod/selfie stick made by Insta360, the one I’m holding in the lead shot, above. It makes for a fantastic grip for smooth video pans, and pretty much eliminates my need for an accessory gimbal to steady the shots. (It also morphs into a small tripod, perfect for placing atop a table in a diner for an interview shot of me and my guest.)
I own the DJI OM 5 gimbal, but have never been able to get stellar results with it, certainly not any better than my current setup. By leaving the OM at home or in the car, it’s one less piece I have to carry, and I don’t have to hassle with balancing issues. The OM takes a while to set up.
Pro tip: for good, smooth B-roll, I usually shoot in Slo-Mo if I can. Because it’s so slow, it irons out the shakes. Caveat: blinking, fluorescent lights play havoc with Slo-Mo, and send me back to normal speed.

I use the iPhone for my stand-ups (addressing the camera) and most B-roll. The GoPro serves as my driving camera and I sometimes use it for walking shots too. Scenes of the car driving down the road are standard for travel videos, and make for great transitions.
I have the GoPro “Jaws” Flex Clamp accessory, as seen in the top photo of me holding cameras, which lets me attach the GoPro to many places, like the windshield wipers or side door of the car. I also do walking shots with the GoPro, either straight footage, or speeded up in “TimeWarp” settings. This is basically a walking timelapse video that GoPro applies stabilization to.
I’ve tried the iPhone for driving shots too, holding it out the window as my wife drove along, and while the iPhone did respectably and it allowed me to get a different angle on the driving shot, it’s just a lot easier to just snap the GoPro to the car to get it done. Could I get away with just the iPhone? Absolutely.
For doing a stand-up with an iPhone, the natural thing would be to go Selfie mode, so I could see myself on screen. However, the Selfie camera isn’t as sharp as the front-facing cameras, so I nix that one. (It’s especially really bad in low light.)
Many Vloggers like the look of just holding their camera in front of them, and having their arm visible in the shot. For me, that just doesn’t work. The shot doesn’t look good, and I can’t get far away without accentuating my big nose.
So I’m all about setting the iPhone atop a tripod, and at eye-level. If I am looking straight into the lenses, I can be pretty sure I’m in the frame, even without seeing the image. I of course test it a few times before I start recording.
My handy-dandy Wireless Go mic gets attached to my shirt, with the receiver on the cold shoe of my smartphone tripod adapter. It gets plugged into the iPhone with an accessory Lightning cable. I have a set of two mics, so when I interview people, both mics get picked up by the receiver that’s in the phone.
Why bring two iPhones with me?
Her name is timelapse!
I always shoot lots of timelapses on location and there’s no camera I’ve come across that’s more effective for this than the iPhone. (GoPro is pretty simple, but to this eye, the iPhone timelapses are sharper.)
In Mendocino I shot timelapses of the clouds soaring at top speed over the Blair House, the old victorian that was used as the exterior on the old Murder, She Wrote show, the Point Cabrillo lighthouse and day to night sunset in the Headlands. And while I was doing that, since the camera was rolling for at least 30 minutes, I had the other phone available for snaps.
My drone of choice is the DJI Mavic Air 2S. It has its own dedicated camera, and in fact I upgraded to the 2S because it has a larger image sensor than the previous version. I couldn’t be happier with the new drone. Way better image quality. The drone is controlled by a DJI app, via the smartphone. There are two joy sticks, and you use them to navigate.
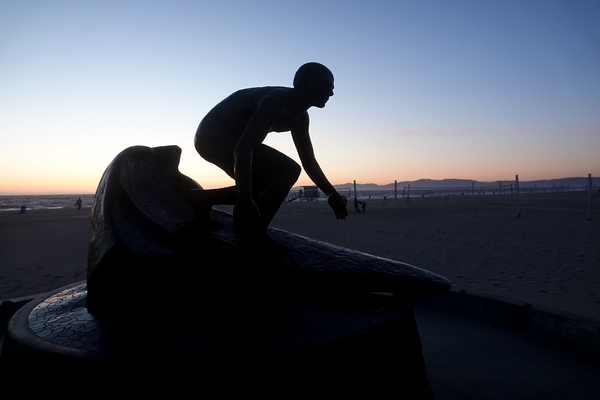
Why reach for a drone? Sometimes I don’t have parking garages, roofs or other high-rise places to get to for my shot. How else to get a nice photo of this historic statue in Mendocino, as seen above?
Beyond the mobile cameras, I have grabbed the Sony A7IV for traditional HDR (High Dynamic Range) multiple exposures, (under, over and normal) which allows for more control and color tweaks to pull off than the iPhone. To do an HDR shot, you need a consistent F stop, and adjust the exposure via shutter speed only, making it darker and lighter. For HDR photography, the camera has to be on a tripod.
Smartphones have automatic HDR. Every image we take on an iPhone is actually a multiple exposure of 9 images that are sandwiched together in seconds. But what the iPhone, or other smartphones don’t have is true manual exposure. Perhaps I could get the HDR I seek, with three shots of different exposures, via an app like Camera +, which promises some form of manual, and maybe I’ll do it next time.
Speaking of apps, I use then native iPhone apps to shoot video. I’ve tried third-party apps like Filmic Pro, but frankly, I find them too complicated for me when I’m run and gunning it.

A quick note about video resolution.
My dad hosted a TV series for local TV in the late 1980s and early 1990s, producing “Bay Area Backroads” on the industry standard of the time, a big, honking professional Sony Betacam SP camera. That camera, a breakthrough back then for being quasi-mobile, even though it was still huge, produced a paltry 300 lines of resolution.
My iPhones and GoPro can rock 4000 lines of them. They are so, so much sharper, even if they are tiny.
It’s amazing how far we’ve come!
Here’s to 8000 lines of resolution and the next generation of mobile cameras!
PhotowalksTV has new travel photography episodes every Saturday so please do me a favor, tune in and keep the questions coming!

 Scripps News