San Francisco’s North Beach: Things to do, where to eat & stay
July 31, 2022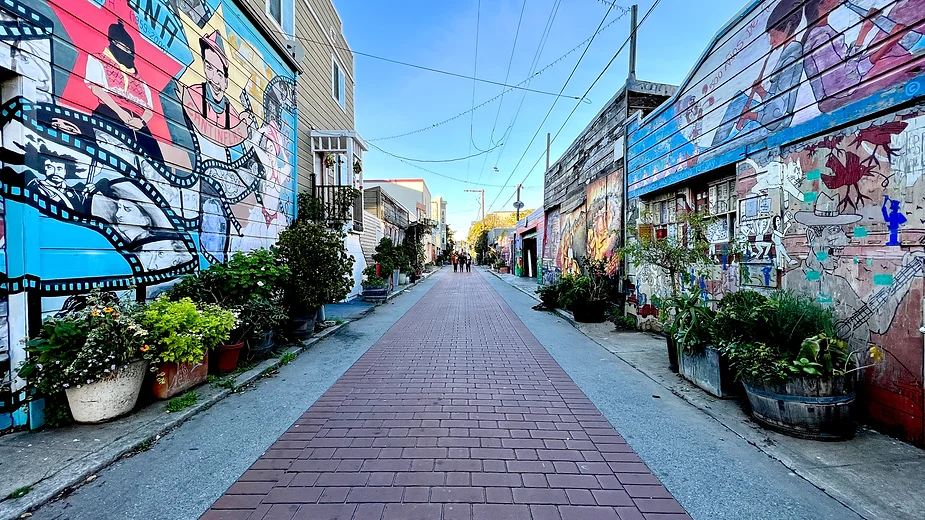
Explore San Francisco’s historic and colorful Mission District with me
August 7, 2022The beauty of smartphone photography is that everything just works.
Photos aren’t too light, too dark or fuzzy, like they were in the film era.
That’s because most smartphone photos are actually multiple exposures, as many as 9 on an iPhone and when they’re merged, the problems tend to disappear.
Everything is great–until it’s not.
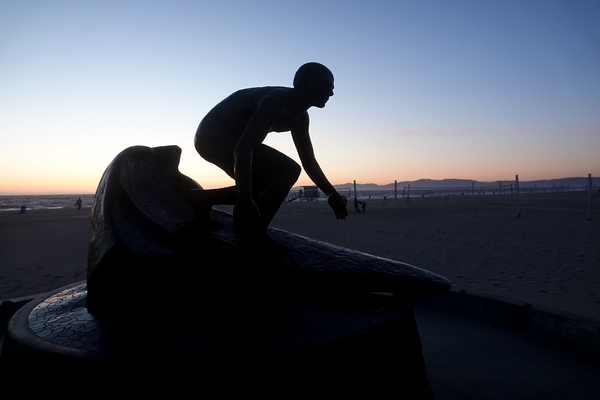
Yes, sometimes the automatic sensors get it wrong. A person photographed in front of a window will appear to be a silhouette, because the camera is exposing for the window, not the person. Ditto for a sunset, where the overall scene can get really dark, as the phone exposes for the sun, and not the scenery.
Thank you for exposure control to save the day.
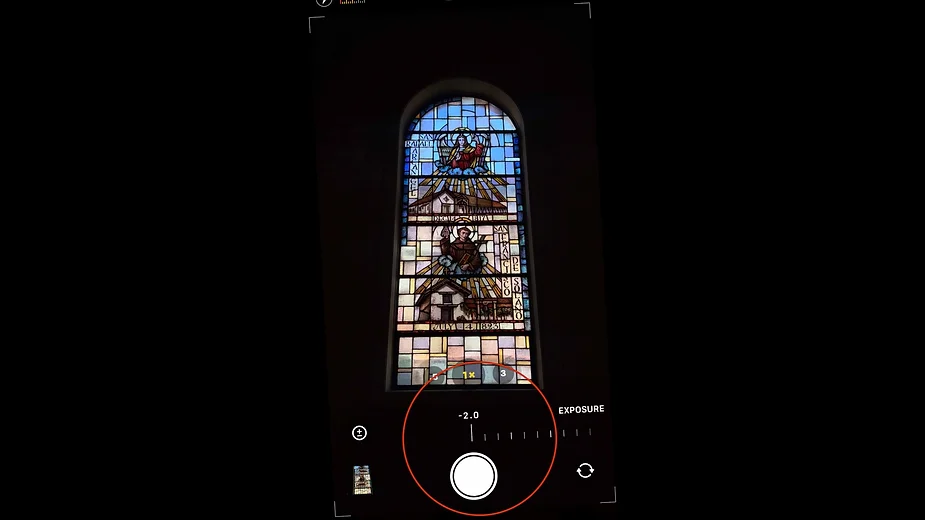
As I explain in the (Backroads) of the Old Mission episode of #PhotowalksTV, I was stumped why my photos of the stained glass at the Mission church looked so awful. The iPhone was over-compensating for the window, and thus, not lowering the exposure enough.


(Complete guide to settings here and in the video directly below.)
On the iPhone, there are two ways to change the exposure with Apple’s Camera app. One is an awkward long press on the LCD screen, and awaiting a little box with a sun logo to show up. From there, you pull young finger down to make it darker, or up to go lighter.
But this is a tough one on a bright day, where it can be hard to see the LCD and the effect the lower or higher exposure will be.
I prefer clicking the arrow Menu at the top of the screen, and selecting exposure control from the various icons. On the latest iPhones, exposure control is the fifth option, a little circle with a numerical plus and minus inside it. Click it, and you’ll get a slider that lets you darken the exposure by two F stops, or up by 2.
On recent Samsung phones, you go to “Pro” setting within the Camera app. Samsung How-to here:
Have questions? Hit me up photowalksTV@gmail.com and let me help!

 Scripps News